
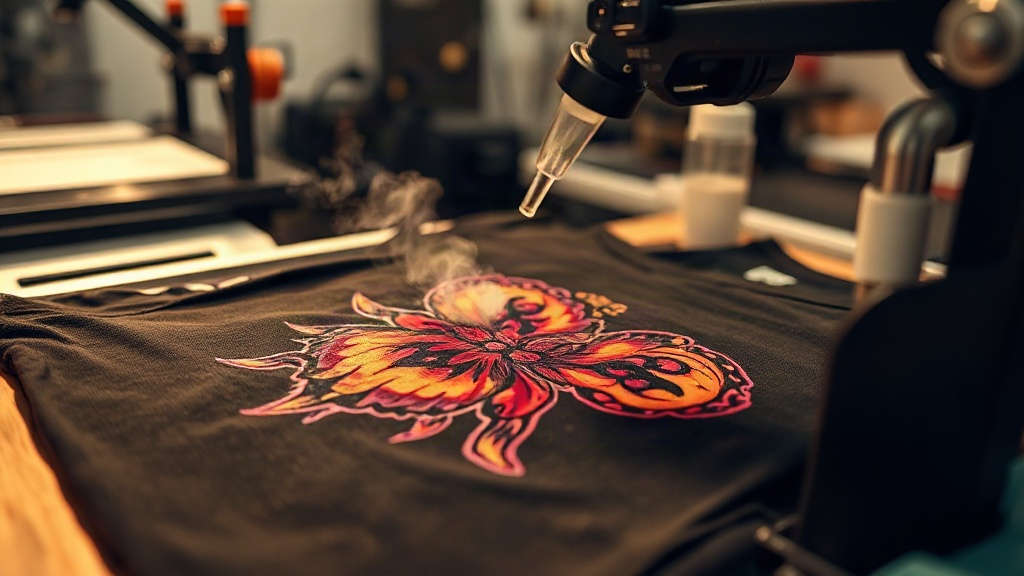
When I first heard about DTF transfers, I was skeptical. As someone who's spent years in the screen printing business, I thought I'd seen it all. But after testing DTF on a whim, I was hooked. The vibrant colors, the soft feel, the ability to print on almost any fabric without pretreatment—it felt like a secret weapon. In this guide, I'll share everything I've learned about DTF transfers, from the basics to advanced tips, so you can avoid the mistakes I made and get flawless results from your first try.
What Are DTF Transfers?
DTF stands for Direct-to-Film. It's a printing method where your design is printed onto a special film, coated with a powder adhesive, and then heat-pressed onto the fabric. Unlike DTG (Direct-to-Garment), which prints directly onto the shirt, DTF uses a transfer, giving it versatility across different materials. The process involves a DTF printer, which uses pigment-based inks, and a shaker machine that applies the adhesive powder. Once the transfer is ready, you can store it for later or apply it immediately. The magic happens when heat and pressure bond the design to the fabric, creating a durable, stretchable print.
Why Choose DTF Transfers?
There are plenty of reasons why DTF has become a go-to for small businesses and hobbyists alike. Here are the standout benefits:
- Versatility: You can apply DTF transfers to cotton, polyester, blends, and even treated nylon. No need for different inks or pretreatments.
- Durability: When applied correctly, DTF prints withstand dozens of washes without fading or cracking.
- Detail and Color: DTF excels at intricate details and vibrant colors, including white ink, which is a challenge for other methods.
- Cost-Effective for Short Runs: No screens or setup fees, making it perfect for one-offs or small batches.
- Soft Feel: Unlike some transfers that feel like plastic, DTF has a soft hand when done right.
The DTF Transfer Process Step by Step
Understanding the workflow is key to success. Here's how it goes from digital file to finished product.
1. Designing Your Artwork
Start with a high-resolution image (300 DPI is ideal). DTF printers use CMYK plus white ink, so your design should be in CMYK mode. If you're using Photoshop or Illustrator, set your document accordingly. Remember that the white ink layer is printed underneath the colors, so any transparent areas will show the fabric. For best results, avoid very fine lines or tiny text; while DTF handles detail well, extremely small elements may not transfer perfectly.
2. Printing onto Film
Load your DTF printer with the appropriate film. The film has a coated side where the ink adheres. Make sure you print on the correct side—usually the matte side. Your printer will lay down the white ink first (if your design has white areas) and then the colors. Some printers print white last as a base, but the most common setup is white first, then CMYK. Check your printer's manual. After printing, the film will be wet with ink.
3. Applying Adhesive Powder
While the ink is still wet, sprinkle the thermoplastic adhesive powder evenly over the design. You can do this manually or use a shaker machine. Gently shake off the excess. Then, cure the powder by heating the film in an oven or with a heat gun until the powder melts and becomes glossy. This step is crucial; undercured powder leads to poor adhesion.
4. Heat Pressing the Transfer
Set your heat press to the recommended temperature, usually around 300-325°F (150-160°C). Place the garment on the press, then position the transfer with the design facing up. Cover with a Teflon sheet or parchment paper. Press with medium pressure for 10-15 seconds. Peel the film while it's hot (hot peel) or after it cools (cold peel), depending on the film type. Most DTF films are hot peel, but always check the instructions.
5. Post-Pressing for Durability
For maximum wash resistance, many experts recommend a second press after peeling. Cover the design with a Teflon sheet and press again for 5-10 seconds. This step ensures the adhesive fully bonds with the fabric fibers.
Common Mistakes and How to Avoid Them
Even with a solid process, things can go wrong. Here are the pitfalls I've encountered and how to sidestep them.
- Insufficient powder: If you don't apply enough adhesive, the transfer will peel. Use a shaker for even coverage.
- Wrong temperature: Too hot and the film may curl or the ink may smear; too cold and the adhesive won't activate. Always test with a temperature gun.
- Pressing on the wrong side: It sounds silly, but I've done it. Make sure the design faces up.
- Not pre-pressing the garment: Wrinkles can cause uneven adhesion. Always pre-press for a few seconds to smooth the fabric.
- Peeling too early or too late: Follow the film's instructions. Hot peel films should be peeled immediately; cold peel films need to cool completely.
Choosing the Right DTF Supplies
Not all DTF films and powders are created equal. The quality of your supplies directly impacts the final result. Look for films with a consistent coating and powders with a fine grain size (usually 80-200 microns). Cheaper films may cause ink smearing or poor release. For powders, polyurethane-based adhesives are standard and offer good flexibility. Also, consider your printer: dedicated DTF printers like those from Epson or Roland are popular, but converted printers can work with the right ink and film. At dtfpropress.com, we've tested many combinations and can guide you to reliable options.
DTF vs. Other Printing Methods
How does DTF stack up against screen printing, DTG, and vinyl? Here's a quick comparison.
- Screen Printing: Better for large orders and bold designs, but DTF wins for complex, multi-color images and small runs.
- DTG: Best on 100% cotton, but DTF works on more fabrics and often has brighter colors.
- Vinyl: Good for simple text and shapes, but DTF handles gradients and photos with ease.
Each method has its place, but DTF's flexibility makes it a valuable addition to any print shop.
Frequently Asked Questions About DTF Transfers
How long do DTF transfers last?
With proper application and care, DTF transfers can last 50+ washes. To maximize longevity, wash garments inside out in cold water and avoid harsh detergents or bleach. Tumble dry low or hang dry.
Can I use DTF transfers on dark colors?
Absolutely. DTF prints a white ink layer under the colors, so it shows up vividly on dark fabrics. This is a major advantage over DTG, which requires pretreatment for dark shirts.
Do I need a special printer for DTF?
You can convert some inkjet printers to DTF, but dedicated DTF printers are recommended for reliability. They use pigment inks and have a white ink channel. If you're just starting, consider outsourcing transfers from a service like dtfpropress.com until you're ready to invest.
What fabrics work best with DTF?
DTF adheres well to cotton, polyester, blends, and even leather and canvas. However, fabrics with a heavy water-repellent coating may need testing. Always do a test press on a scrap piece.
How do I store unused DTF transfers?
Keep them in a cool, dry place away from direct sunlight. Place them in a sealed bag or container to prevent dust from settling on the adhesive. Properly stored transfers can last for months.
Final Thoughts
DTF transfers have opened up new possibilities for my business, and I'm confident they can do the same for you. The learning curve is gentle, and the results speak for themselves. Start with a small batch, experiment with different fabrics, and don't be afraid to make mistakes—that's how you learn. With the tips in this guide, you're well on your way to mastering DTF. If you have questions or want to share your experiences, feel free to reach out. Happy printing!