
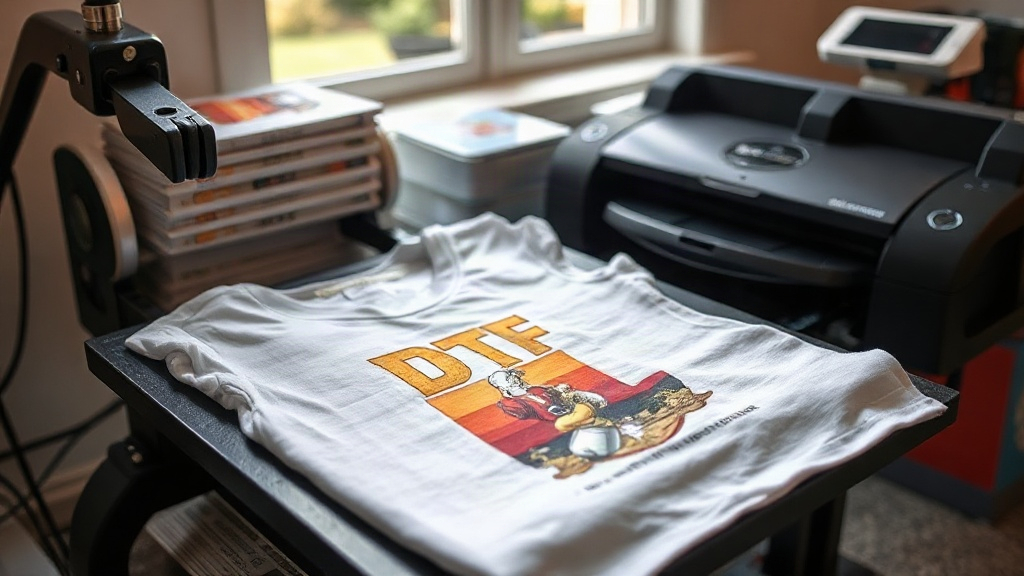
If you've been exploring custom apparel printing, you've likely encountered DTF Transfers. This technology has rapidly gained popularity for its versatility, vibrant colors, and ease of use. Unlike traditional methods that require weeding or specialized equipment, DTF transfers offer a straightforward path to professional-looking prints on various fabrics. In this guide, I'll walk you through everything you need to know to get started, sharing insights from my own experience with DTF printing.
What Are DTF Transfers?
DTF Transfers (Direct to Film) are a type of heat transfer that involves printing your design onto a special film, coating it with adhesive powder, and then heat-pressing it onto your garment. The process eliminates the need for cutting and weeding, making it ideal for complex designs with fine details. The result is a soft, stretchable print that adheres well to cotton, polyester, and blends.
How DTF Transfers Differ from Other Methods
Compared to DTG (Direct to Garment) or screen printing, DTF transfers have distinct advantages. DTG requires pretreatment and works best on 100% cotton, while screen printing is cost-effective only for large batches. DTF, on the other hand, works on almost any fabric, requires no pretreatment, and is cost-effective for small to medium runs. Plus, the colors are incredibly vibrant, and the prints are durable.
The DTF Transfer Process Step by Step
Understanding the workflow helps you achieve consistent results. Here's a breakdown of the key stages.
1. Design Preparation
Start with a high-resolution image. DTF printers can handle intricate details, but low-res files will still look pixelated. Use design software to create your artwork, and remember to mirror the image horizontally before printing. This is crucial because the film is pressed face-down onto the garment.
2. Printing
DTF printers use special inks (usually CMYK plus white) to print onto a PET film. The white ink layer is essential for opacity on dark fabrics. After printing, the film is dusted with a hot-melt adhesive powder, which ensures the transfer bonds to the fabric.
3. Curing
The powder must be melted to activate its adhesive properties. This is typically done in a curing oven or with a heat press. Proper curing ensures the transfer won't crack or peel after washing.
4. Heat Pressing
Finally, the transfer is applied to the garment using a heat press. Temperature, pressure, and time are critical. I recommend starting with 325°F for 15 seconds at medium pressure, but always check your transfer supplier's recommendations.
Choosing the Right Equipment
To get started with DTF, you'll need a few key pieces of equipment. While you can outsource printing, having your own setup gives you more control.
- DTF Printer: Options range from converted Epson printers to dedicated DTF machines. For beginners, a converted printer with DTF inks and a RIP software is a good start.
- Heat Press: A quality heat press with even pressure is essential. You'll need one large enough for your designs.
- Curing Oven: If you're doing volume, a curing oven speeds up the powder melting process. Otherwise, a heat press can double as a curer.
- Supplies: PET film, DTF ink, adhesive powder, and heat transfer tape.
Tips for Perfect DTF Transfers
Even with the right equipment, small mistakes can ruin a transfer. Here are some practical tips I've learned along the way.
Test Your Settings
Every heat press is different. Always do a test press with a scrap garment to dial in your temperature, pressure, and time. Too much heat can scorch the fabric or cause the transfer to discolor, while too little heat results in poor adhesion.
Handle with Care
After pressing, let the transfer cool completely before peeling the film. Peeling while hot can stretch the design or cause it to lift. For a matte finish, peel cold; for a glossy finish, peel hot. Experiment to see what you prefer.
Wash and Wear
DTF transfers are durable, but proper care extends their life. Wait 24 hours after pressing before washing, turn the garment inside out, and use cold water. Avoid bleach and fabric softeners.
Troubleshooting Common Issues
If you encounter problems, don't panic. Here are solutions to frequent DTF transfer issues.
Transfer Not Sticking
Insufficient pressure or temperature is the usual culprit. Increase pressure and check that your heat press is reaching the set temperature. Also, ensure the adhesive powder was fully melted during curing.
Cracking or Peeling
This often happens if the transfer wasn't cured properly or if the garment was stretched during pressing. Re-cure the transfer or adjust your pressing technique.
Color Fading
Fading can occur if the transfer is exposed to excessive heat during pressing. Lower the temperature and shorten the pressing time. Also, use high-quality inks and film.
Frequently Asked Questions
Can I use DTF transfers on any fabric?
Yes, DTF transfers work on a wide range of fabrics, including cotton, polyester, blends, and even leather. However, fabrics with a rough texture or heavy coating may require extra pressure.
How long do DTF transfers last?
With proper application and care, DTF transfers can last as long as the garment itself. They are resistant to cracking and peeling when washed correctly.
Do I need special software for DTF printing?
You'll need RIP software to handle color management and white ink layering. Many DTF printer packages include RIP software, or you can purchase it separately.
Is DTF printing cost-effective for small businesses?
Absolutely. DTF transfers have a low startup cost compared to other methods, and you can print on demand, reducing waste. It's an excellent option for small businesses and hobbyists.
What is the best way to store DTF transfers?
Store unused transfers in a cool, dry place, away from direct sunlight. Keep them flat to prevent creasing. Properly stored, they can last for months.
DTF transfers have revolutionized custom apparel printing, offering flexibility and quality that's hard to beat. With the right knowledge and a bit of practice, you'll be creating stunning prints in no time. Remember, the key is to experiment, be patient, and enjoy the process. Happy printing!