
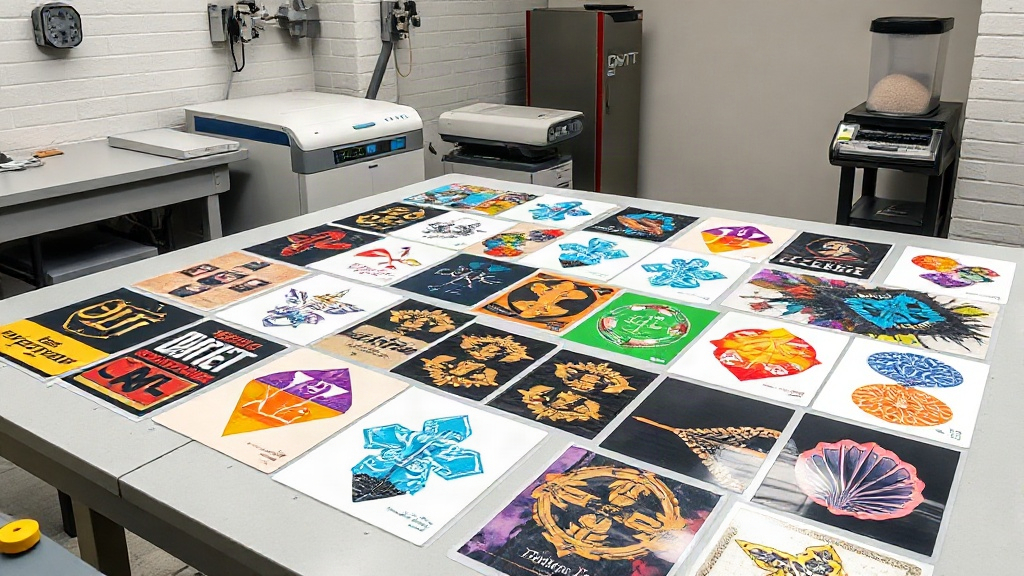
If you're in the custom apparel business, you've likely heard about DTF printing. It's a game-changer for vibrant, durable transfers on various fabrics. But did you know that how you arrange your designs on the film can make or break your efficiency? Enter the DTF gangsheet – a method that maximizes your printer's output and slashes material waste. In this guide, we'll dive deep into gangsheets: what they are, why they matter, and how to use them like a pro.
What Exactly Is a DTF Gangsheet?
A DTF gangsheet is a single sheet of DTF film populated with multiple designs, arranged to minimize wasted space. Instead of printing one transfer at a time, you group many images onto one large sheet, print them all in one pass, and then cut them apart after transfer. Think of it as carpooling for your prints – more designs share the same ride, saving time and money.
Why Gangsheets Are a Smart Move
The benefits are clear: reduced film and powder consumption, fewer printer runs, and faster production. If you're running a print shop, these savings add up quickly. Plus, gangsheets allow you to offer competitive pricing without sacrificing quality.
How to Create a DTF Gangsheet
Creating a gangsheet involves a few key steps. First, you'll need design files. Next, you'll arrange them using specialized software or a RIP (Raster Image Processor) that supports gangsheet layouts. Finally, you'll print the sheet, apply powder, and cure it. Let's break it down.
Step 1: Gather and Prepare Your Designs
Collect all the designs you need to print. Ensure they are high-resolution (300 DPI is ideal) and have transparent backgrounds if necessary. If you're printing white ink, make sure your designs have proper white underbase layers. Most DTF printers require a white base for vibrant colors on dark garments.
Step 2: Use Gangsheet Software
Many RIP software options, such as Cadlink, PrintFactory, or dedicated DTF RIPs, offer gangsheet tools. These allow you to import multiple images, auto-arrange them for optimal nesting, and set spacing. You can also manually adjust placement to fit as many designs as possible. Remember to leave a small gap (about 0.1-0.2 inches) between designs for easy cutting.
Step 3: Print, Powder, and Cure
Once your layout is ready, print it onto DTF film. After printing, apply hot melt adhesive powder evenly over the wet ink. Shake off excess powder, then cure the sheet in an oven or with a heat press. The powder melts and creates a bondable layer. Now your gangsheet is ready to be cut and applied.
Best Practices for DTF Gangsheets
To get the most out of your gangsheets, follow these tips:
- Nest designs tightly: Rotate and reposition images to fill gaps. Irregular shapes can often interlock.
- Group by garment color: If you're printing for both light and dark shirts, separate gangsheets to avoid white ink where it's not needed.
- Label your sheets: After printing, mark each design with a code or name to avoid confusion during cutting.
- Test your layout: Before committing to a full sheet, print a small test to check spacing and alignment.
Common Mistakes to Avoid
Even seasoned printers make mistakes. Watch out for these pitfalls:
- Overcrowding: Leaving too little space can cause ink smudging or difficulty cutting.
- Inconsistent powder application: Uneven powder leads to poor adhesion and washability issues.
- Ignoring film orientation: Some films have a printable side; printing on the wrong side ruins the transfer.
Maximizing Efficiency with DTF Gangsheets
Efficiency is the name of the game. By using gangsheets, you can reduce your cost per transfer significantly. Here's how to push it further:
Optimize Your Workflow
Batching similar jobs together saves time. For example, if you have multiple orders for the same shirt color, combine them into one gangsheet. Also, consider printing gangsheets in advance for popular designs to have inventory ready.
Invest in the Right Equipment
A larger format DTF printer (like 24-inch or 60-inch wide) allows for bigger gangsheets, increasing throughput. Additionally, a good heat press and powder shaker machine streamline the process.
Track Your Savings
Calculate how much film and powder you save per gangsheet compared to individual prints. You'll likely find that gangsheets cut material costs by 30-50%. Pass these savings to your customers or keep them as profit.
Frequently Asked Questions
Can I use any DTF film for gangsheets?
Yes, but for best results, use high-quality film designed for DTF printing. Thinner films may wrinkle or cause feeding issues in the printer.
How do I ensure my gangsheet designs don't peel after washing?
Proper powder application and curing are crucial. Use a heat press at 320°F for 15 seconds with medium pressure. Also, ensure the powder is fully melted and the transfer is applied correctly.
What's the maximum size for a DTF gangsheet?
It depends on your printer's width. Common sizes are 13 inches, 24 inches, and 60 inches wide. The length can be as long as your roll allows, but practical limits exist for handling and curing.
Do I need special software to create gangsheets?
Not necessarily, but dedicated RIP software makes it much easier. You can also use graphic design tools like Photoshop or Illustrator to manually arrange designs, though it's more time-consuming.
How do I price products when using gangsheets?
Calculate your cost per square inch of film and powder, then multiply by the design size. Add labor and profit margin. Gangsheets lower your per-unit cost, so you can price competitively.
Conclusion
Mastering the DTF gangsheet is a surefire way to boost your printing efficiency and profitability. By grouping designs, you save on materials, time, and effort. Start small, experiment with layouts, and soon you'll wonder how you ever managed without gangsheets. For more tips and tricks, stay tuned to our blog.