
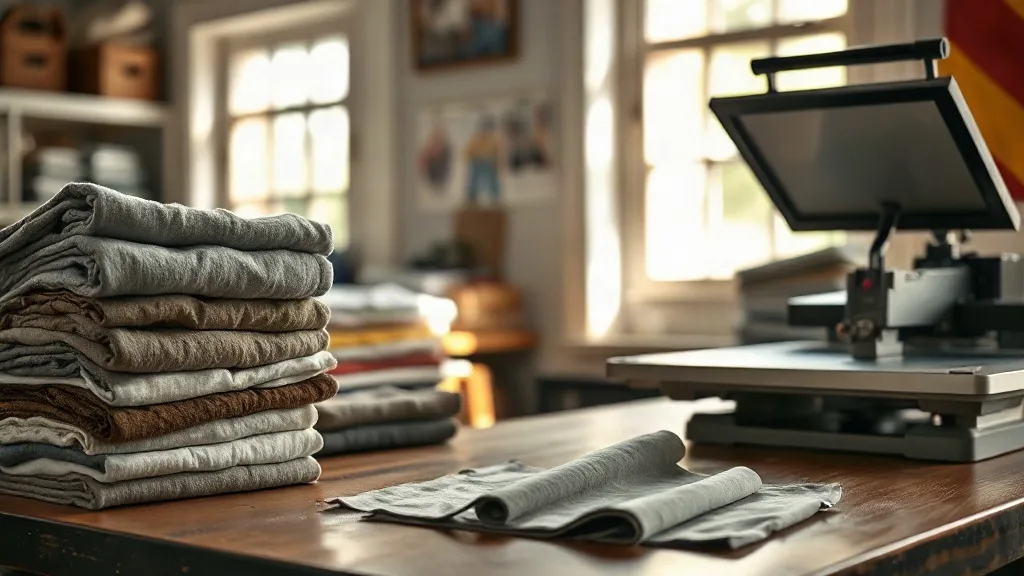
Most shop owners blame the printer when a job comes back. They re-check the powder, second-guess the cure, and swap film brands. Yet in a surprising number of failures, the print itself was fine and the garment underneath was the problem. dtf transfers behave differently on a 100% cotton ring-spun tee than on a coated polyester performance shirt, and if you treat every blank the same, you will chase ghosts for weeks.
This guide is about the other half of the equation. We will look at how fabric construction, dye chemistry, and factory finishes change the way dtf adhesive grips, how to test a new blank before you commit to a full run, and what to do when a customer hands you a garment you have never printed before. By the end you should be able to predict, with reasonable confidence, whether a blank will hold a print through fifty washes or start lifting at the edges.
Why the Garment Decides More Than You Think
A DTF transfer is a sandwich. The ink layer carries the image, the powder layer becomes the adhesive, and the garment surface is the substrate that adhesive has to anchor to. When you press, heat softens the thermoplastic powder so it can flow into the microscopic valleys of the fabric. Once it cools, it locks mechanically into those valleys. No valleys, no lock.
That is the whole story in one sentence. Everything else, from weave density to moisture-wicking coatings, is a variation on how deep those valleys go and whether anything is sitting in them that the adhesive cannot grab.
Weave and texture matter more than fiber content
It is tempting to sort blanks by fiber percentage: cotton good, polyester tricky, blends somewhere in between. That is a useful first filter, but weave tells you more. A tight, flat cotton poplin has a smoother surface than a slubby tri-blend, and the adhesive has less to bite into. A coarse open-knit hoodie fleece, by contrast, gives the powder plenty of room to sink in, which is why heavy fleece often holds transfers beautifully even when the fiber blend is complicated.
Hold a blank up to the light and look at the surface at a shallow angle. If you can see a distinct texture with raised and recessed areas, the adhesive has somewhere to go. If the surface looks like glass, be cautious.
Dye chemistry can interfere with adhesion
Some fabrics, particularly cheap dark synthetics, are dyed with pigments that migrate. Under heat and pressure, dye can bloom to the surface and sit between the adhesive and the fibers. The print looks fine on day one and develops a dull, cloudy cast or begins to lift after a few washes. Sulfur-dyed black cottons are a known offender, and so are some heavily dyed polyesters.
You cannot always identify dye chemistry from a spec sheet. But you can run a simple test: press a scrap of plain white transfer film onto an inconspicuous area, peel it cold, and inspect the film. If it comes away tinted, the dye is migrating and that blank is a risk.
How Fabric Finishes Change the Rules
Modern performance and fashion fabrics are rarely raw. They come off the roll with softeners, silicone washes, fluorocarbon stain repellents, or moisture-wicking coatings. These finishes exist to make the garment feel good or perform well, and many of them do their job by making the surface slick. Slick is the opposite of what an adhesive wants.
- Silicone softeners are the most common culprit. They leave a low-friction film that blocks the powder from contacting the fiber.
- Stain and water repellents create a barrier layer that heat alone will not always break through.
- Moisture-wicking treatments on performance poly can reduce adhesion, though results vary widely by brand and how the treatment is applied.
None of this means you cannot print these garments. It means you need to prepare them. A quick pre-press of the garment for five to eight seconds at press temperature drives off surface moisture and can soften some finishes. On stubborn performance wear, a light wipe with a suitable adhesion promoter, used according to the manufacturer's directions, is worth testing. Always run a wash test before promising a customer anything.
Cotton, poly, and blends in practice
Here is a rough working hierarchy based on real shop experience, not lab theory:
- 100% ring-spun cotton tees: the most forgiving blank you can print. Adhesion is strong, stretch is moderate, and the print flexes with the shirt.
- Cotton-rich blends (60/40 and up): nearly as good, with slightly more elasticity. Watch for pilling on low-quality blends, which can lift the print from underneath.
- Heavy fleece and hoodies: excellent adhesion thanks to deep texture, but the fabric's bulk means you need longer press times to push heat through to the adhesive layer.
- 100% polyester performance: workable but finish-dependent. Pre-press, test, and consider a lower press temperature with a longer dwell to avoid dye migration and shine.
- Nylon and coated outerwear: the hardest category. Heat can damage the coating, and adhesion is unpredictable. Treat these as special-order jobs with explicit wash-test sign-off.
Building a Blank Test Protocol
Every new blank that enters your shop should go through the same short routine before it goes into production. It takes about twenty minutes and saves hours of rework.
Step one: the peel test
Print a small, simple design. Press it with your standard settings, let it cool completely, then peel. A cold peel that comes away clean, with no adhesive residue on the carrier film and no lifting at the edges, is a pass. If the film feels tacky or you see powder left behind, your settings or the blank are wrong.
Step two: the stretch test
Grab the printed area and stretch it firmly in both directions. The ink should flex and recover. Hairline cracking at extreme stretch is normal; flaking or separation from the fabric is a fail. This test tells you a lot about how the print will behave on a fitted garment.
Step three: the wash test
Wash the sample inside out in warm water with a normal detergent load, then tumble dry on medium. Repeat three times. Inspect edges, corners, and any fine detail. If a print is going to fail, it usually shows within three cycles. Keep a labeled sample of every approved blank on a ring in the shop so new staff can match fabric by feel.
When a Customer Brings Their Own Garment
This is where shops get burned. A customer arrives with a thrifted jacket or a bulk order of shirts from an unknown supplier and expects the same result as your house blanks. You cannot guarantee what you cannot test, so set expectations clearly and in writing.
Explain that you will print a test swatch on an inside hem or seam allowance if there is room, and that you recommend the customer wash the finished piece inside out. If the garment has a visible coating, a slick hand feel, or a strong chemical smell, flag it as higher risk. Offering a small discount on a reprint if a failure occurs is often cheaper than absorbing a full refund and a damaged reputation.
If a customer is searching for dtf transfers near me and lands in your shop, they are usually comparing convenience and turnaround rather than fabric science. That makes your willingness to test and explain a genuine differentiator. Most competitors will simply press and hope.
Practical Settings Adjustments by Blank Type
Once you know your blank, small setting changes make a real difference. These are starting points, not gospel, since every press runs a little differently.
- Light cotton tees: medium pressure, 150 to 160°C, 10 to 12 seconds.
- Heavy fleece: medium to high pressure, 155 to 165°C, 15 to 20 seconds to push heat through the bulk.
- Performance poly: lower temperature around 140 to 150°C, longer dwell of 15 seconds, and a pre-press to drive off moisture.
- Stretch fabrics: slightly lower pressure to avoid flattening the knit, with a full cool before peel.
Always peel cold unless your film manufacturer says otherwise. Warm peeling on stretchy fabric is one of the most common causes of edge lift, because the adhesive is still soft and stretches with the film instead of staying on the garment.
Frequently Asked Questions
Can I print DTF on 100% polyester without problems?
Yes, but treat it as a finish-dependent job rather than a routine one. Pre-press the garment, use a lower temperature with a longer dwell to reduce dye migration and shine, and always run a three-wash test before committing to a production run. Some performance polys will hold beautifully; others will fail no matter what you do.
Why does my print look fine but lift after two or three washes?
Late failures usually point to contamination or insufficient bonding rather than press error. Fabric softener residue, silicone finishes, or migrating dye can all create a weak interface that survives the first wash but gives out later. Wash the garment before printing if the finish is suspect, and check whether the blank has been treated with a softener.
Do I need different settings for hoodies versus t-shirts?
Yes. Heavy fleece needs more time and often more pressure because heat has to travel through thicker fabric to reach the adhesive. A setting that works perfectly on a 4.5 oz tee will under-cure on an 8 oz hoodie, leaving the print prone to peeling at the edges.
How do I test a blank I have never used before?
Run a small print through a peel test, a stretch test, and three wash cycles. Keep a labeled sample on file. The whole process takes about twenty minutes and is the single most reliable way to avoid a failed production run on unfamiliar fabric.
Is it worth charging more for printing on customer-supplied garments?
Often, yes. You are absorbing risk you cannot control. A modest surcharge for outside garments, paired with a clear explanation of the testing you will do and the limits of your guarantee, protects your margins and keeps the conversation honest.