
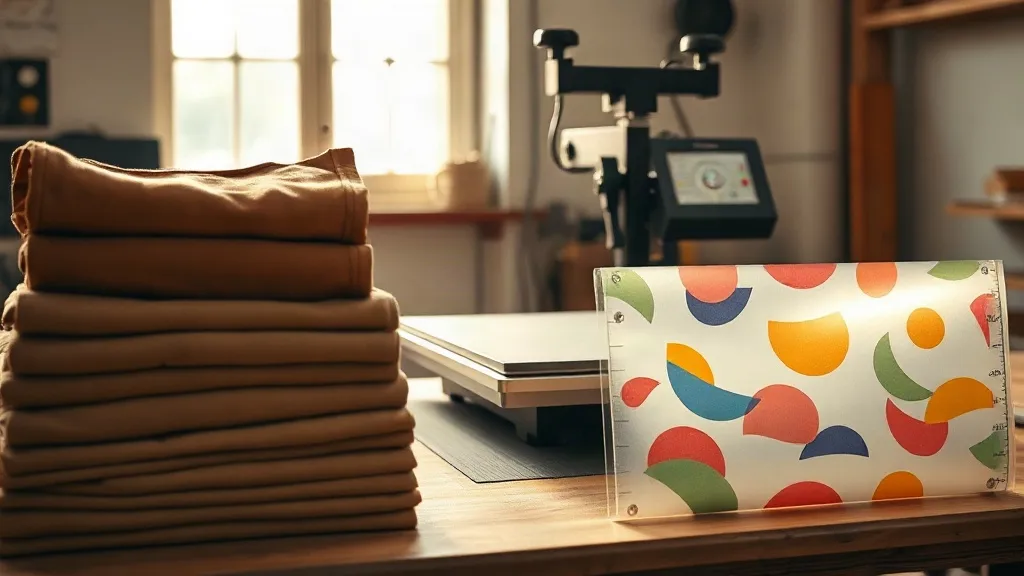
Walk into any print shop that handles streetwear orders and you will eventually see a stack of heavyweight cotton tees waiting to be pressed. Among the brands that show up again and again is shaka wear, a label that built its reputation on thick, boxy tees that hold their shape after dozens of washes. That density is exactly what makes these blanks interesting for DTF work, and also what makes them tricky if you treat them like a standard 4.5 oz jersey. This guide walks through the practical side of printing DTF transfers onto Shaka Wear garments: what to check before you press, how to lay out a gangsheet without wasting film, and where most shops lose money on reprints.
Why Shaka Wear Blanks Behave Differently Under a Heat Press
Most DTF problems blamed on the transfer are actually fabric problems. Shaka Wear's core tees typically run heavy, often in the 6 oz to 7 oz range depending on the model, with a tight knit and a substantial hand feel. That weight changes how heat and pressure travel through the garment.
A thin tri-blend heats up in seconds and the adhesive powder cures quickly. A heavyweight cotton tee absorbs heat more slowly, so the top surface of the transfer can look fully bonded while the adhesive underneath is still under-cured. The result shows up three washes later as peeling corners or a print that cracks along fold lines.
Pre-press checks worth doing every time
- Weigh or feel the blank. If it is noticeably heavier than your usual stock, add 10 to 15 seconds to your dwell time rather than raising temperature.
- Check for moisture. Heavy cotton holds humidity, especially if it has been sitting in a warehouse. A quick 3 to 5 second pre-press on the empty shirt drives off surface moisture and improves adhesion.
- Confirm the color. Dark garments need a white ink base layer in the transfer; light garments usually do not. Mixing them up is one of the most common causes of dull or muddy prints on navy and charcoal Shaka tees.
Temperature matters, but pressure matters more than most operators expect. Heavyweight cotton does not compress the way a lightweight jersey does, so the transfer needs firm, even pressure to push adhesive into the fiber. If your press gauge reads the same as it does for a thin tee, the print is probably sitting on top of the fabric rather than locking into it.
Choosing the Right Transfer Type for Heavyweight Cotton
DTF film adheres best to surfaces with a slight texture. Smooth, tightly woven cotton gives the adhesive less to grab, which is why some operators report better results on garment-dyed or washed finishes than on a brand new, starched tee. If you are printing on a fresh Shaka Wear blank straight from the poly bag, a single wash and dry before pressing is not a bad habit. It removes sizing agents that can interfere with the bond.
For large front or back panels, standard DTF film works well as long as you keep the design within the flat area of the garment. Shaka tees tend to have a boxy cut with wide shoulders, so a full back print that looks centered on a hanger can sit off-center once the shirt is worn. Measure from the collar seam down rather than from shoulder to shoulder, and check the print placement on a mannequin before you commit to a full run.
Where the design meets the seam
Heavyweight tees often have double-needle stitched hems and thicker side seams. A transfer that overlaps a seam will almost always fail there first, because the adhesive cannot bond to thread the same way it bonds to flat knit. Keep at least a quarter inch of clearance around seams, collars, and pocket edges. If a client insists on an edge-to-edge look, adjust the artwork rather than pressing over structure.
Building a Gangsheet That Fits Heavyweight Blanks
Efficiency in DTF comes down to how well you fill film. A DTF Gangsheet Builder lets you drag designs onto a virtual sheet and see exactly how much film a job will consume before you print anything. For Shaka Wear orders, that preview step is where you catch the expensive mistakes.
Big back prints eat space fast. A single 12 by 16 inch design leaves a lot of dead film around it, and dead film is money. Nesting smaller chest logos, sleeve hits, and neck labels into those gaps turns a wasteful sheet into a profitable one. The builder also helps you keep consistent spacing between designs, which matters because transfers that touch each other during the powder shake can pick up stray adhesive and produce a halo around the print.
A layout routine that saves film
- Sort the job by size. Place the largest back prints first, aligned to one edge of the sheet.
- Fill remaining vertical space with medium designs, rotating only when the artwork allows it.
- Use leftover corners for chest logos, sleeve prints, and inner neck tags.
- Leave a consistent gap between designs, usually a quarter inch is enough for clean cutting.
- Review the sheet at full zoom before sending it to the printer, checking for accidental overlaps.
One detail that trips people up: gangsheet builders often default to a standard sheet width. If your printer handles a wider roll, adjust the canvas to match. Printing on a narrower sheet than your machine supports means you pay for film you never use.
Press Settings That Actually Hold Up in the Wash
Manufacturer instructions give a range, and ranges are a starting point, not a recipe. On a heavyweight Shaka tee, a typical press sequence looks like this: pre-press the garment for a few seconds to flatten fibers and remove moisture, position the transfer with the ink side down, press at medium-firm pressure for 12 to 15 seconds, peel while warm or cold depending on your film type, then do a second press with a cover sheet for 5 to 8 seconds to set the adhesive fully.
The second press is the step most shops skip, and it is the one that determines durability. Without it, the adhesive cures only partially and the print feels slightly tacky. A cover sheet protects the design from direct heat and gives the bond a clean finish.
Testing before you ship
Pull one shirt from every batch and run it through a wash and dry cycle. Check the corners first, then the edges of any large solid area. If the print lifts at a corner, the issue is usually uneven pressure rather than temperature. If it cracks across the middle, the transfer was likely stretched during application or the garment was pressed before it cooled.
Common Mistakes on Heavyweight Blanks
Shops that mostly print on lightweight retail tees tend to carry over habits that do not translate. The three recurring issues are pressing too hot to compensate for slow heat transfer, peeling too early on cold-peel films, and ignoring the garment's texture. Heavy cotton has a visible knit pattern, and a transfer pressed with too much pressure can push ink into that texture, creating a slightly bumpy surface that looks dull under light.
There is also the color question. On deep navy or black Shaka tees, a transfer without a sufficient white base will look washed out. If a client sends artwork with fine white lines on a dark background, test a small sample first. Fine detail on textured cotton behaves differently than on a smooth polyester blend.
Frequently Asked Questions
Can you DTF print on 100% heavyweight cotton like Shaka Wear?
Yes. DTF adheres well to cotton, including heavy weights, as long as the garment is pre-pressed to remove moisture and the transfer is applied with firm, even pressure. The main adjustment compared to lighter fabrics is a slightly longer dwell time and a proper second press to fully cure the adhesive.
What temperature should I use for DTF on thick cotton tees?
Most films work in the 300 to 320 degree Fahrenheit range. On heavyweight cotton, stay toward the middle or lower end of that range and extend time instead of raising heat. Too much heat can scorch the garment or cause the film to curl before the adhesive sets.
How do I stop DTF prints from peeling on Shaka Wear shirts?
Check three things in order: moisture in the garment, pressure consistency across the platen, and whether you completed a second press with a cover sheet. Peeling at corners almost always traces back to one of these. A wash test on a single sample will tell you which one before you print the full order.
Is a gangsheet builder worth it for small Shaka Wear orders?
It is most valuable when a job mixes sizes and print placements. Even a ten-shirt order with back prints, chest logos, and neck tags can waste a noticeable amount of film without a layout preview. The builder also reduces the chance of overlapping designs, which causes transfer defects during powdering.
Should I wash heavyweight tees before printing DTF transfers?
It is not mandatory, but a wash and dry before pressing removes manufacturing sizing that can interfere with adhesion. If you skip it, a longer pre-press helps. For client-facing retail work, testing both approaches on a sample is the safest way to set your shop standard.