
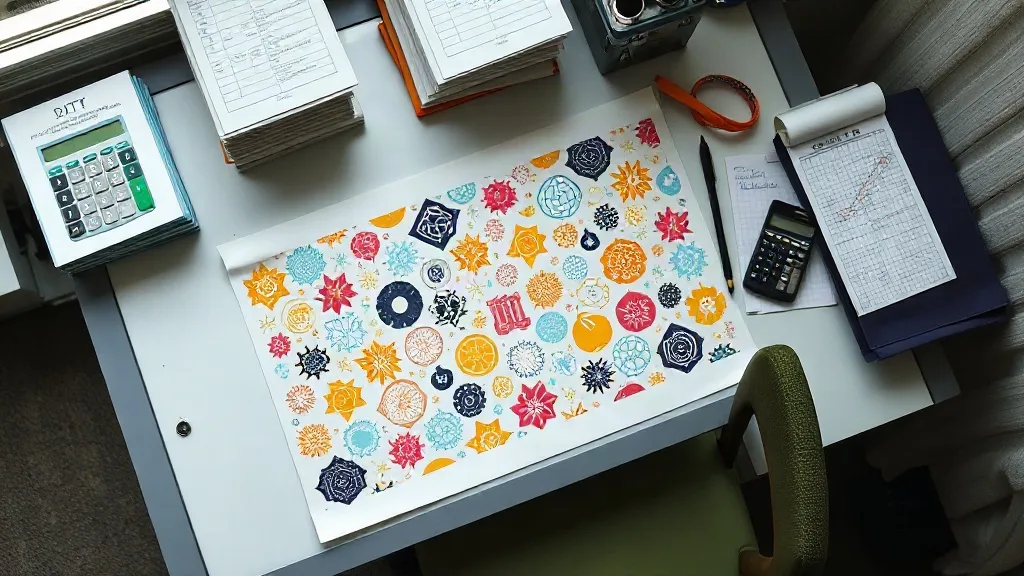
Every DTF printer knows the sting of peeling away a transfer sheet and seeing empty film where a design could have been. That wasted space is money evaporating. With rising material costs, the difference between a profitable shop and a struggling one often comes down to how well you utilize every square inch of film. A well-planned DTF Gangsheet is your most powerful tool in this fight, turning wasted margins into measurable savings. In this guide, we will explore practical strategies to cut costs without ever compromising the quality your customers expect.
Why Film Waste Is Your Silent Profit Killer
DTF film, ink, and powder are not cheap. When you print a sheet that is half empty, you are paying for materials that never become a product. Over hundreds of prints, that adds up to thousands of dollars in lost profit. The problem is rarely intentional; it usually stems from rushed file preparation, poor nesting, or simply not thinking about the sheet as a whole. The good news is that with a few deliberate habits, you can dramatically reduce waste and keep more money in your pocket.
The True Cost of Empty Space
Let's break it down. A typical DTF film sheet costs a few dollars, but when you factor in ink, powder, and the time spent handling and curing, each print has a real cost. If 30% of your film is empty, you are effectively throwing away 30% of your material budget. For a shop producing 100 sheets a week, that could mean hundreds of dollars lost every month. By treating empty space as a cost, you begin to see your gangsheet as a financial document, not just a print job.
Smart Nesting: The Art of Fitting More on a Sheet
Nesting is the process of arranging designs on your gangsheet to maximize density. Good nesting can increase your yield by 20% or more. Start by grouping designs by size and shape. Rotate irregular shapes to fill gaps. Use nesting software if you have it, but even manual arrangement with a critical eye can yield big improvements. Remember that the goal is not just to fit more designs, but to do so without causing print defects or making cutting difficult.
Group Similar Sizes Together
When you place designs of similar dimensions together, you create a more uniform layout that is easier to cut and weed. This also reduces the risk of small designs getting lost in large empty areas. For example, if you have a batch of left-chest logos, cluster them in one area rather than scattering them across the sheet.
Rotate and Flip for Better Fit
Sometimes a simple 90-degree rotation allows a design to fit into a tight spot. Don't assume all designs must be upright; as long as the final transfer orientation is correct, you can rotate freely. This is especially useful for long, narrow designs that can fill vertical gaps.
Ink and Powder Savings: Beyond Film
While film is the most visible cost, ink and powder add up quickly. Over-inking not only wastes money but can also cause quality issues like bleeding or poor adhesion. Ensure your color profiles are calibrated and that you are not laying down more ink than necessary. Similarly, powder should be applied evenly and shaken off excess; a little goes a long way. Regularly check your equipment for clogs or misprints that waste supplies.
Calibrate Your Printer for Efficiency
Run a nozzle check and color calibration regularly. A well-maintained printer uses ink more efficiently and produces fewer rejects. If you notice banding or inconsistent color, address it immediately before it ruins a whole sheet.
Reuse and Recycle Where Possible
Some shops save scraps of film for small test prints or patches. While you cannot reuse printed film, you can often use offcuts for color swatches or small samples. Investigate local recycling programs for film and powder containers to reduce environmental impact and possibly save on disposal costs.
Planning Your Gangsheet for Maximum Profit
Before you hit print, take a moment to plan. Consider the orders you have and whether you can combine them onto one sheet. Batching similar jobs not only saves film but also reduces setup time. Use a gangsheet builder tool if available; many rip software options include nesting features that automate the process. And always preview your sheet before printing to catch any obvious waste.
Batch Orders by Color and Material
If you have multiple orders that use the same film type and similar colors, printing them together can save on ink changes and film waste. However, be careful not to mix orders that require different powders or curing times, as that can lead to quality issues.
Use Every Corner
Small designs like logos or tags can fill the corners and edges of your sheet. Don't overlook these spaces; they are perfect for tiny prints that would otherwise require a separate sheet. Just ensure you leave enough margin for cutting and handling.
Quality Control: Don't Sacrifice for Savings
Cutting costs should never come at the expense of quality. Always maintain proper spacing between designs to prevent color bleeding and ensure clean cuts. Overcrowding can lead to misprints and rework, which costs more than the film you saved. Find the balance between density and quality by testing different layouts and monitoring your reject rate.
Maintain Proper Spacing
A good rule of thumb is to leave at least 0.25 inches between designs. This allows for clean cutting and prevents ink from migrating. If you are using a cutting machine, check its requirements for spacing and registration marks.
Monitor Your Reject Rate
Keep track of how many prints you discard due to defects. If the rate is high, it might be worth sacrificing some density for reliability. A sheet with 10% less yield but zero rejects is more profitable than a densely packed sheet with frequent errors.
Frequently Asked Questions
How can I reduce film waste without investing in expensive software?
You can start by manually nesting designs more carefully. Use a simple grid overlay in your design program to visualize empty spaces. Group similar sizes, rotate designs, and fill gaps with small items. Free tools like Inkscape or GIMP can help with manual nesting. Also, consider printing on roll film instead of sheets if your printer supports it, as you can cut exactly to length.
What is the ideal spacing between designs on a DTF gangsheet?
The ideal spacing depends on your cutting method and printer capabilities. For manual cutting, leave at least 0.25 inches (6 mm) between designs. For machine cutting, check your cutter's specifications; some can handle as little as 0.1 inches (2.5 mm). Always test with a small batch to find the minimum spacing that works for you without causing bleeding or cutting errors.
Does using a DTF gangsheet really save money compared to printing individual transfers?
Yes, significantly. Printing individual transfers often leaves large unused areas on each sheet. A gangsheet combines multiple designs onto one sheet, maximizing film usage and reducing ink and powder consumption per transfer. Over time, the savings can be substantial, especially for high-volume shops. Additionally, gangsheets reduce setup time and labor costs.
How do I balance the need for high density with the risk of print defects?
Start by testing different layouts on a small scale. Print a test gangsheet with varying spacing and density, then evaluate the quality. Keep a log of reject rates and adjust accordingly. Remember that consistent quality is more important than squeezing every last inch; a slightly less dense sheet with zero defects is more profitable than a densely packed sheet with frequent reprints.
Can I reuse leftover film scraps from a DTF gangsheet?
Leftover film scraps that have not been printed can sometimes be used for small test prints or patches, but they are often too small for production. It's better to plan your gangsheet to minimize scraps in the first place. If you have larger offcuts, consider using them for samples or color swatches. Always store film properly to prevent dust and damage.