
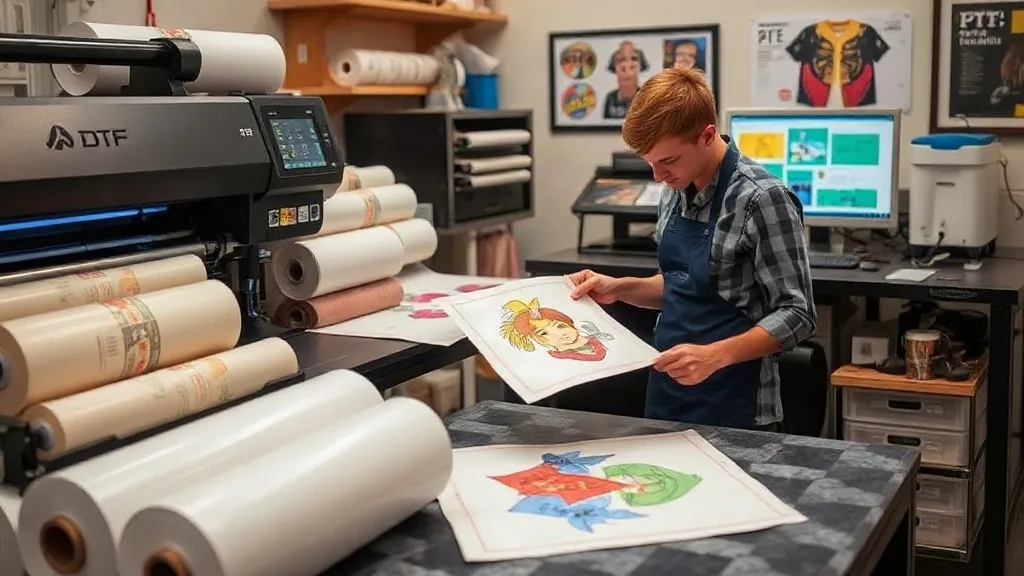
When I first heard about dtf printing, I was skeptical. After years of wrestling with vinyl cutters and screen printing presses, the idea of a digital transfer that could handle intricate designs on dark fabrics without weeding seemed too good to be true. But after integrating dtf transfers into my shop two years ago, I've watched them become the backbone of my custom apparel business. Whether you're a seasoned printer or just starting out, understanding DTF technology can open up new revenue streams and simplify your workflow. In this guide, I'll share what I've learned on the shop floor, from the basics of the process to advanced tips that have saved me time and money.
What Exactly Are DTF Transfers?
DTF stands for Direct to Film. Unlike DTG (Direct to Garment) printing, which prints directly onto the fabric, DTF involves printing your design onto a special PET film, coating it with a powder adhesive, and then heat-pressing it onto the garment. The result is a vibrant, durable transfer that adheres to a wide range of materials, including cotton, polyester, blends, and even treated leather. The process is surprisingly straightforward: you print, powder, cure, and press. That's it. No weeding, no masking, no messy screens.
Why DTF Transfers Have Become My Go-To Method
When I compare DTF to other decoration methods, several advantages stand out. First, the color vibrancy is exceptional. Because the design is printed with pigment inks on a white base, colors pop even on dark garments. Second, the stretch and durability are impressive. I've washed test shirts dozens of times, and the transfers hold up without cracking or fading. Third, DTF is incredibly versatile. I can print on fabrics that would be challenging for screen printing or vinyl, like nylon jackets or canvas bags. And because there's no weeding, I can produce complex, multi-color designs in minutes, not hours.
Cost-Effectiveness for Small and Large Runs
One of the biggest misconceptions is that DTF is only for small batches. While it's perfect for one-offs and samples, the per-unit cost drops significantly when you gang multiple designs onto a single film. I routinely print a dozen different logos on one sheet, cut them apart, and press them as needed. This flexibility means I can offer competitive pricing without minimum order quantities, which my customers love.
The DTF Printing Process Step by Step
If you're new to DTF, here's a breakdown of the workflow I've refined over hundreds of jobs.
- Design Preparation: Start with a high-resolution image. DTF printers can handle fine details, but raster images should be at least 300 DPI. I always add a white underbase layer in my RIP software to ensure opacity on dark shirts.
- Printing: Load the PET film into your DTF printer. The printer lays down CMYK and white ink in one pass. I use a roll-fed printer for efficiency, but sheet-fed models work well for small shops.
- Powdering: While the ink is still wet, apply hot-melt adhesive powder evenly over the print. Shake off the excess. This powder is what makes the transfer bond to the fabric.
- Curing: Place the film in a curing oven or under a heat press for a few minutes. The powder melts and forms a flexible adhesive layer. Proper curing is crucial; undercured transfers will peel.
- Pressing: Set your heat press to 320°F (160°C) with medium pressure. Press for 10-15 seconds, then peel the film hot or cold depending on the film type. I prefer cold peel for a matte finish.
Common Pitfalls and How to Avoid Them
Even with a solid process, things can go wrong. Here are a few issues I've encountered and how I fixed them:
- Insufficient pressure: If the transfer doesn't adhere uniformly, increase pressure. I use a pressure gauge to ensure consistency.
- Uneven powder application: Too much powder leads to a rough texture; too little causes poor adhesion. I use a powder shaker for even coverage.
- Improper curing: If the powder isn't fully melted, the transfer will crack. Invest in a good curing oven or use a heat press with accurate temperature control.
- Pressing on the wrong side: Always press the film with the ink side down onto the garment. It sounds obvious, but it's a common rookie mistake.
Choosing the Right DTF Supplies
Not all DTF films and powders are created equal. I've tested several brands and found that film thickness and coating quality vary greatly. A good film should release cleanly and not leave residue. For powder, I prefer a fine-grain adhesive that melts evenly. Your ink choice also matters: pigment inks designed for DTF have better color gamut and wash fastness. I recommend starting with a reputable supplier and requesting samples before committing to bulk orders.
DTF vs. Other Printing Methods: A Quick Comparison
How does DTF stack up against screen printing, DTG, and vinyl? Here's my take:
- Screen Printing: Better for large runs of simple designs, but setup costs and color limitations make it less flexible. DTF wins for complex, multi-color jobs.
- DTG: Great for 100% cotton, but colors can be muted on dark shirts without a pretreatment. DTF offers more vibrant results on a wider range of fabrics.
- Vinyl: Ideal for simple text and numbers, but weeding is time-consuming. DTF eliminates weeding and handles intricate details effortlessly.
Advanced Tips for Scaling Your DTF Operation
Once you've mastered the basics, you can optimize for speed and profit. I've implemented a few strategies that have doubled my output:
- Gang sheets: Combine multiple designs on one film to reduce waste and increase efficiency.
- Automated powder application: A powder shaker with a conveyor belt speeds up the process and ensures consistency.
- Quality control: Inspect each transfer after curing. I keep a log of settings for different fabrics to troubleshoot quickly.
- Customer education: Provide care instructions with every order. Telling customers to wash inside out and avoid ironing directly on the print extends the life of the transfer.
Frequently Asked Questions About DTF Transfers
How durable are DTF transfers after washing?
When properly applied and cared for, DTF transfers can last 50+ washes without significant fading or cracking. I recommend washing inside out in cold water and tumble drying low. Avoid bleach and fabric softeners, which can degrade the adhesive.
Can I use DTF transfers on polyester and nylon?
Yes, DTF works well on polyester and nylon, but you need to adjust temperature and pressure. Nylon requires lower temperatures (around 280°F) to prevent scorching. Always test on a scrap piece first.
What's the minimum order quantity for DTF transfers?
One of the best things about DTF is that there's no minimum. You can print a single transfer or thousands. This makes it perfect for custom orders, samples, and small businesses.
Do I need a special printer for DTF?
You can convert a standard inkjet printer to DTF with a DTF ink system and RIP software, but dedicated DTF printers offer better reliability and white ink circulation. If you're serious about DTF, invest in a purpose-built machine.
How do I store unused DTF transfers?
Store them in a cool, dry place away from direct sunlight. I keep mine in a sealed bag with a desiccant packet to prevent moisture absorption. Properly stored transfers can last for months.
DTF transfers have transformed how I approach custom apparel. They've allowed me to take on jobs I would have turned down before, and my customers are thrilled with the results. If you're considering adding DTF to your shop, I encourage you to dive in. Start with a small setup, experiment with different fabrics, and don't be afraid to make mistakes. The learning curve is short, and the payoff is huge. For more resources and supplies, check out dtf transfers and see how this technology can elevate your business.